
Source - https://pixabay.com/en/essential-oils-alternative-aroma-2536471/
It goes without saying; creating a well-designed label (functional and attractive) is super-important.
But, the label application process is also very important.
Why? Because incorrectly applied labels always look terrible, no matter how well-designed they are.
Luckily, for the most part, applying labels isn't too difficult—in fact, it's quite easy.
But, there are a few things you must think about before rushing in, otherwise you may make a very costly mistake. And remember, even the smallest mistake can cheapen your brand and wreak havoc on your sales.
In this guide, we'll introduce you to our foolproof 5-step label application process. It's based on years of experience in the print industry and, honestly, it's pretty foolproof.
But first, let's talk about the two methods of label application and how they differ.
Applying Labels By Hand Vs. By Machine
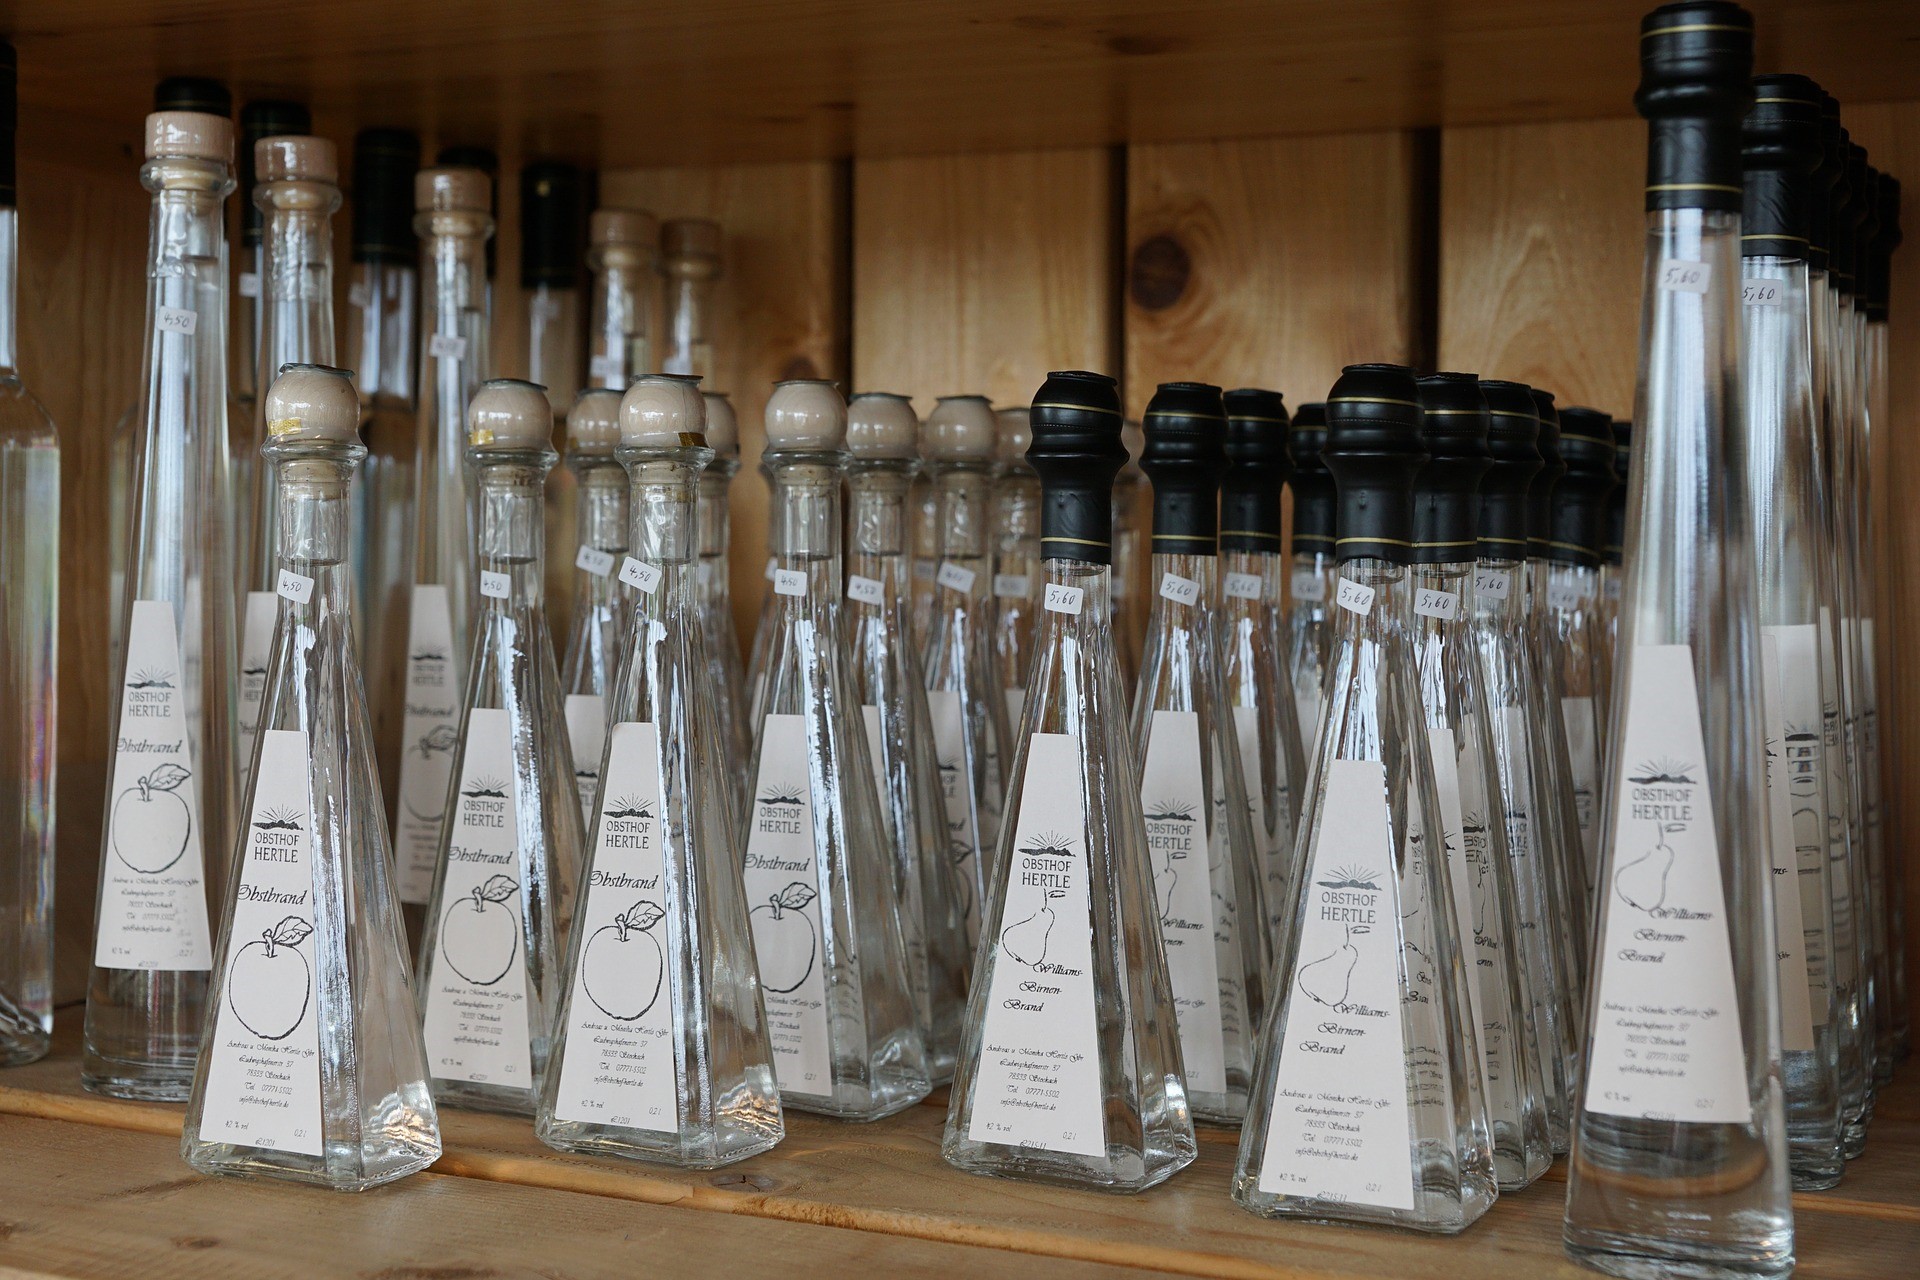
Source - https://pixabay.com/en/brandy-alcohol-bottles-drink-862814/
There are two main ways to apply labels:
Each method has its pros and cons, so it’s important to understand both before deciding on the right one for you.
To help, here's a list of the main points for your consideration:
#1: Consider the Costs
The costs of either method can differ depending on the specifics of your project.
With hand application, you will save money through the lack of machinery needed. But, there is a lot of time involved in applying labels this way.
If you are applying a lot of labels (i.e. hundreds or thousands), machine labelling may end up being cheaper.
Why? Because it's faster and you will save money on labour costs.
With hand-labelling, you also need to account for a higher likelihood of incorrect label application. This can end up costing more in printing new labels and in wasted product containers.
#2: Use Repositionable Adhesive
If you're applying labels by hand, it's always a good idea to use labels with re-positionable adhesive.
With these, there's a short period of time after placing a the label where you're able to remove or re-place it. This helps to minimise crooked labels and mistakes.
#3: Look Into Label Machine Applicators
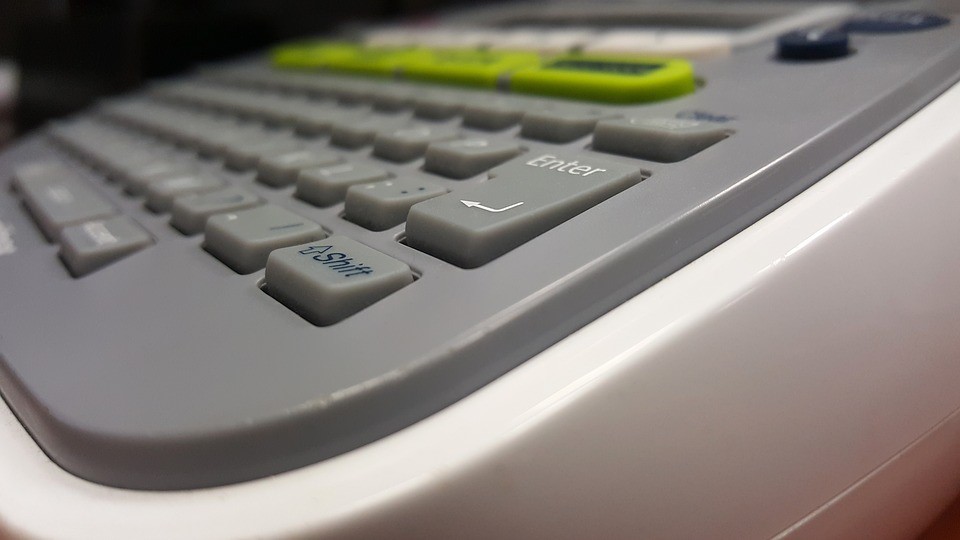
Source - https://pixabay.com/en/label-maker-labeler-electronics-1567178/
Label machine applicators vary in cost and size depending on exactly what you need them for. When you look around at what is on offer, you will see that there is a lot of choice.
There are also many brands to choose from, each with their own respective machines.
Certain brands may offer a customisation service but that can cost extra.
So, what should you look for in a labelling machine?
Well, labelling speed will most likely be your top priority.
100 units per minute is the most common speed a machine will run at. Larger production lines will definitely benefit with efficiency with the correct machines.
For smaller enterprises, or those with a small number of products to label, a labelling machine isn't always needed. But, you may incur extra costs from your product manufacturers if they know you are unable to use label equipment at this stage.
You could save costs by outsourcing your printing or by doing it by hand. There's also the halfway option of a hand held label applicator which works very well for certain product types.
Here are a few of the standard types of labelling equipment you're likely to see when checking out your options:
- Hand Held Label Applicator: These are best suited to boxes or square products. They are easy to use, can create labels of various specifications, and are easy to transport.
- Manual Label Applicator: Unlike like a handheld applicator, a this a stationary machine. But you still operate it manually. It's best suited to companies with a smaller budget who aren't ready to commit to an automatic machine yet. It's also a good option for those who need something more precise/effective than a handheld machine, without breaking the bank.
- Semi-Automatic Label Applicator: These machines still need some input, although less than a fully-automatic applicator.
- In-Line Automatic Labelling: This is the machine you need when things start to get serious. They're fast and will quickly and consistently label your stock. Machines like this come at a price but they're well worth the investment for some companies.
- Rotary Labelling: This is the Rolls-Royce of labelling machines. It's the top-end product for labelling consistently. Again, they're far from cheap, but they are necessary for high-grade and high-speed labelling.
All things considered, the investment you make on a machine isn't worth the money unless you're looking at producing lots of products (1000's).
Hand labelling is a perfectly adequate option right up until you're pushed to invest in the machinery to label for you.
Whatever your choice, here are some useful tips that will help ensure you get the job done right:
1.Decide EXACTLY Where You Will Apply Your Label (Hint: Ideally, it Will Be a Flat Surface)
A cleaned, dry surface on your product is a great home for your label.
The flatter the surface the better, too.
This is because a flat surface ensures the label sticks properly without any crevices, bumps, lumps or imperfections.
But, of course, a flat surface may not always be possible.
If you're labelling a bottle or unique surface, we've a tip to help you with that a little bit further down the page.
2. Clean the Area AND Make Sure It’s Moisture-Free

Source - https://pixabay.com/en/spray-household-surface-shine-315164/
Labels will struggle to stick if the surface is grubby or moist.
That's why you should always make sure the surface is clean before applying.
This is true for labels made from any material.
Plastic, cardboard, paper—debris and dirt is always bad.
Why? Because dirt gets in the way of the adhesive bonding to the product.
We recommended using an Isopropyl alcohol wipe (IPA) to prepare products for labelling. These remove grease, oil and dust from a product, evaporate quickly and they don't leave a mark.
But, do be sure to check the product can have IPA applied to it before using this cleaning method.
And remember, even worse than dust and debris, is moisture.
Water or any type of moisture will prevent your label from sticking. It can also prevent the adhesive being as effective as it could be, too.
Moisture unavoidable? Look into using a stronger adhesive on your labels.
3. Wait For Your Labels to Reach Room Temperature
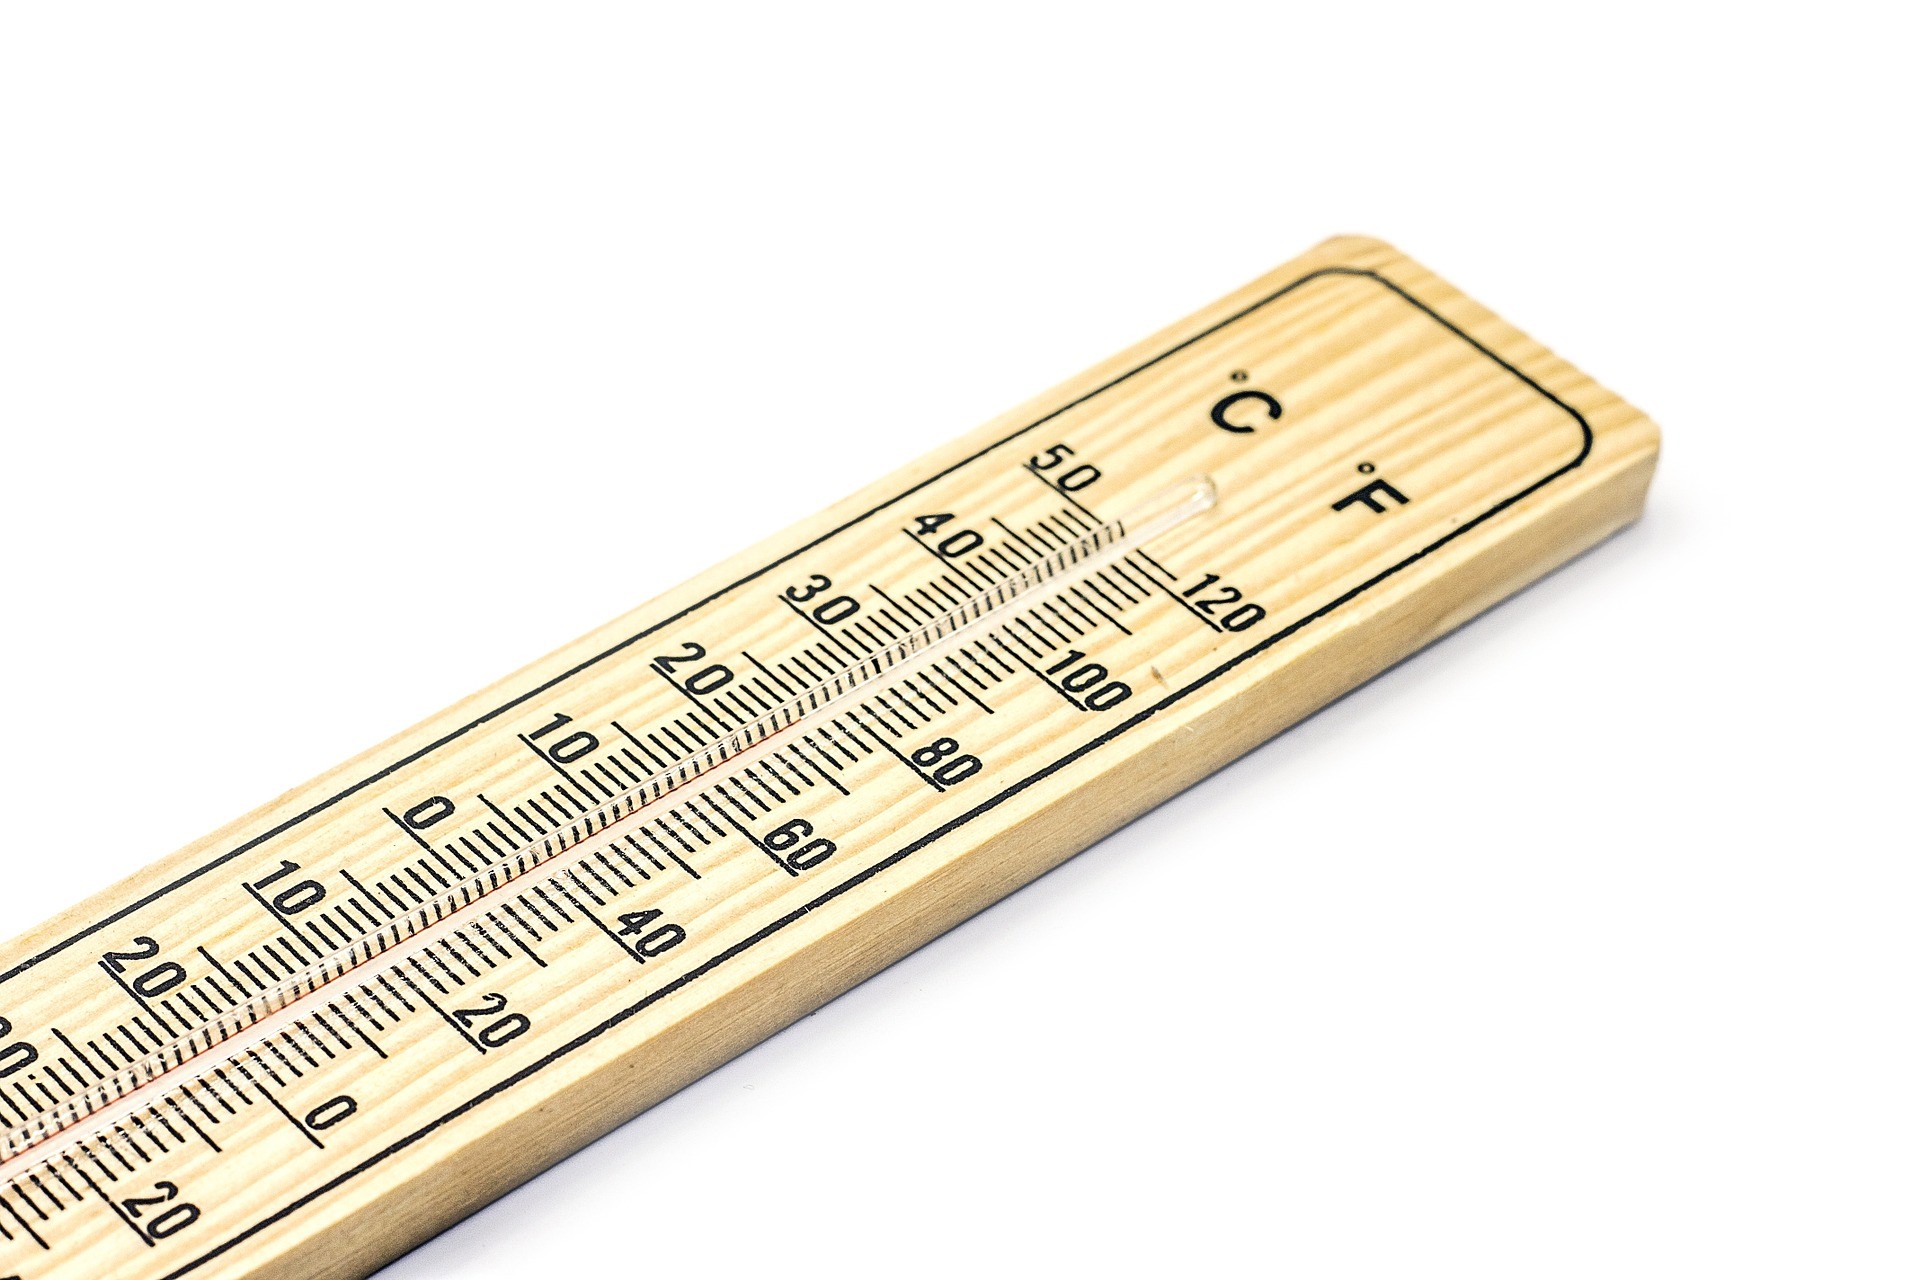
Source - https://pixabay.com/en/thermometer-temperature-measurement-789898/
Did you know temperature matters when it comes to labelling?
Extreme heat or cold can cause problems with label adhesion. This is especially true if the adhesive isn't specifically designed for that kind of use.
So, where possible, wait for your labels to reach room temperature.
Otherwise, consider investing in adhesive suitable for all temperatures or extreme cold.
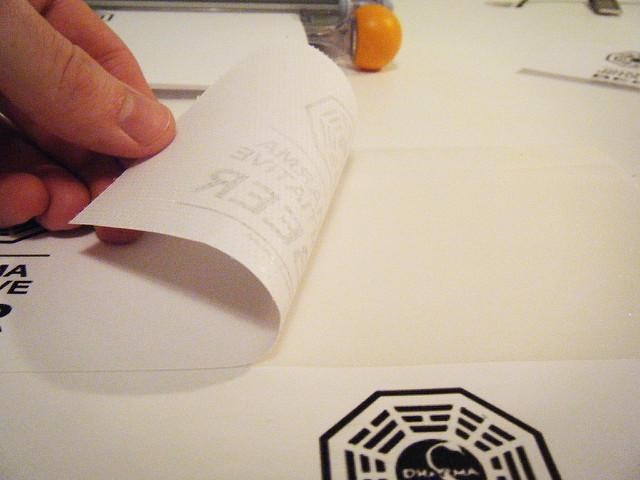
4. Remove the Backing Liner and CAREFULLY Apply Your Label
Source - https://www.flickr.com/photos/macwalsh/4403699605/in/photolist-cj7aNJ-4NvAXL-dtEYLn-7XPscy-66ssBB-fSo7Z9-covtnm-K2Tvv-cNCoWU-eSZjna-cNCsGJ-cNCsT3-8TiDTb-7GPRR5-atg6da-67pgDd-pGZfcb-7FnVug-3emJ6B-5qDPX-655gJX-WVc3vJ-7bQUa2-F2cyw-7y7xtW-NnkwLF-NnkwVZ-6A581-8n7Npv-5qDNZ-7GKVya-7y2AqH-6jEp3-7qYcLE-F2crH-rN3XZv-EeWiY-7BuwET-7Hd3bs-7Hd3fo-7H97tg-5aa1ZE-Zdb7FC-JvuBWL-7BykNw-rqow9j-HJmh4C-Nm6oCw-Nm6qau-6639R3
This is an important step and there's a lot to getting it right. The more accurate this stage is though, the more productive your processes will be.
Here's the process:
- To begin, ensure that the surface of the product you are applying the label to is clean and dry.
- Check the label is room temperature and then carefully peel the label from its carrier. Make sure not to touch the sticky part of it at all. Touching the sticky part of the label will affect how well it adheres to the product.
- Firmly and evenly press the label into place using additional pressure if the label is very thin.
If you are applying the label to a bottle or any surface that isn't flat, you'll need to take some extra precautions and do things a little differently.
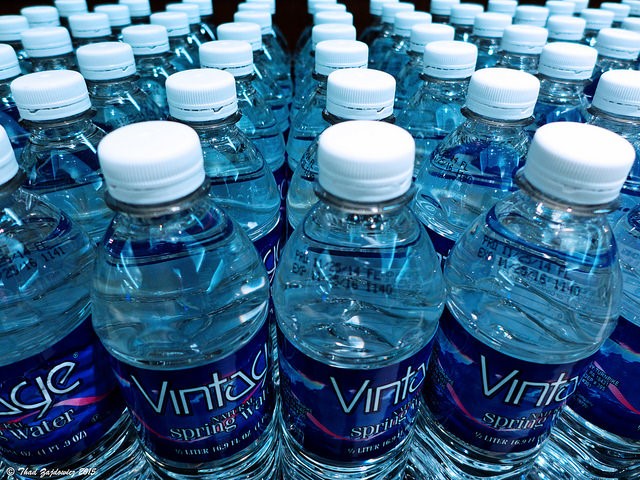
Source - https://www.flickr.com/photos/thadz/16466809032/in/photolist-r67GCy-nQdKMk-Wh8TTn-VSM5MT-VTfzz2-ot6sv1-9QWkLN-nR2Fy7-4jCH65-oxdYkH-5Q3yam-r1yEYU-X23ue6-oXW85j-rtjVQD-pDMkEN-boB5j9-ny1ojN-qyds6H-7WRGgb-b4RWAv-V8zEZq-bBjbGz-a8ZweC-VcjcK1-ruUrJf-boB5jb-Vd1dRi-d1pond-qwDyVM-rtiYXx-ra7gnK-d1pnoE-d1pnX9-VX7k2r-qwrEsd-boqGR9-bBigza-c18vq7-nNtffG-ouB16S-rdriKh-of342K-TB6gbs-owoBRH-ny1Aos-od9TLu-obZeZx-odoo6i-oFtTVg
Here’s the process:
- First, place the product on a surface that holds it steady. With a bottle, it should have the top facing directing away from you.
- Once you have a firm grip on the container, carefully peel away the label from its backing. Hold the label firmly on both ends and align it with the area of the bottle you want it placing.
- When you're sure of the placing, press the middle of the label down. Then press it from the centre outwards to the left, then the centre outwards to the right. Smooth it down and the label should be successfully in place.
This handy YouTube tutorial will take you through the process.
Using clear labels? Clear labels are a type of label that is better applied using a machine. Applying them by hand can be tricky because air tends to get trapped between the label and the product causing ugly bubbles to appear. Applying clear labels by machine is more effective because you can apply them more smoothly. This means there is less chance for bubbles to appear.
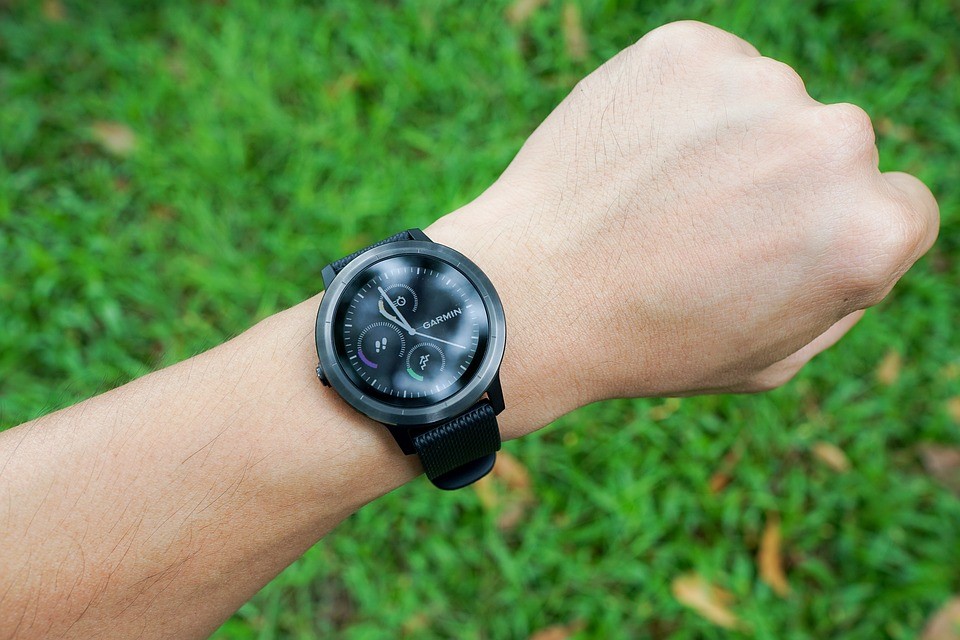
5. Leave Your Label for 72 Hours to Allow it to Cure (Hint: Be Patient!)
Source - https://pixabay.com/en/watch-smartwatch-sportwatch-sport-2910920/
Label application requires precision, but the best results also require patience.
It is important that once you've applied your label to the container, you then leave it for 72 hours to cure.
This should occur in a neutral temperature environment. The process enables the adhesive to bond with the surface of the container effectively.
Final Thoughts
Our guide isn't meant to be a technical step-by-step.
It's more an effective strategy that we have found works very well with most labelling projects. It's also based on years of experience in the printing industry, during which time we've labelled thousands of products.
So, regardless of exactly how you choose to get the job done, we're certain these tips will make it much more efficient, cost-effective and convenient for you.
Need a little extra help? Struggling to choose the right label for your product? Please don't hesitate to get in touch, our friendly team are right here to provide expert advice and guidance if you need it.